
Main Courses
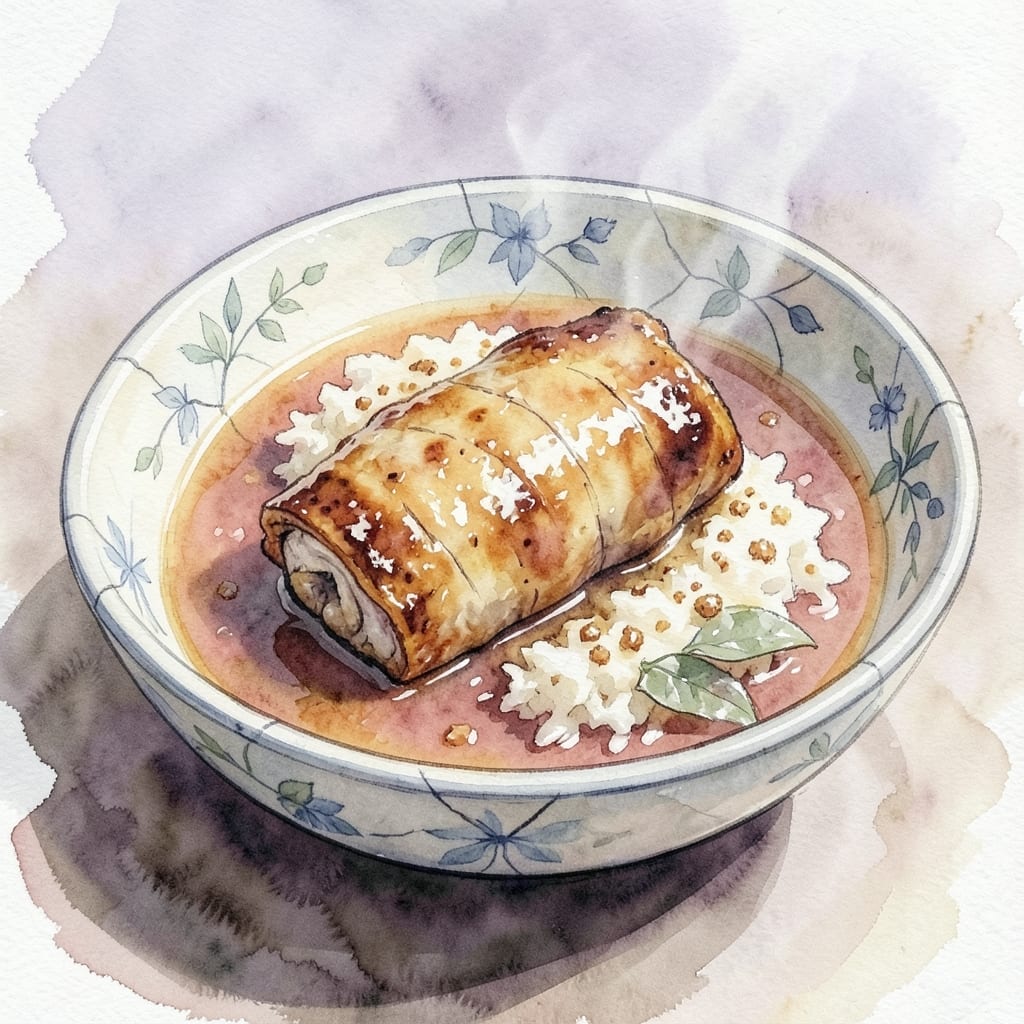
Batangas pork adobo delivers the perfect marriage of crispy edges and tender meat that falls apart at the touch of a fork. 🔥 This Filipino classic from the Batangas region transforms tough pork cuts into something extraordinary through a precise balance of vinegar, garlic, and slow cooking. I've perfected this technique over years of testing—where the key lies in developing a sauce that's tangy yet rich, with just enough sweetness to round out the flavors.
The secret to authentic Batangas adobo begins with the pork, which we'll first sear until golden before braising in a flavorful marinade of vinegar, garlic, and bay leaves. This dual-cooking method creates those coveted crispy bits while keeping the meat tender and juicy. The vinegar ratio is critical—too much makes it harsh, too little and you lose that signature tang that defines this dish.
What you'll end up with is a dish that's as beautiful as it is delicious: pork pieces with crispy edges that crumble into the sauce, and a glossy, caramelized reduction that clings to every bite. The aroma alone will have everyone gathering around your table, while the first taste delivers that perfect balance of tangy, savory, and slightly sweet that makes this recipe unforgettable.
Serve it with steamed rice to soak up every last drop of that flavorful sauce, and consider adding atchara (pickled papaya) on the side for a refreshing contrast. This is comfort food at its finest—simple yet sophisticated, and guaranteed to become a family favorite. Let's get cooking!
Ingredients for batangas pork adobo
Pork shoulder, vinegar, and garlic—these three ingredients transform tough meat into crispy-edged tenderness.
| Ingredient | Amount | Notes |
|---|---|---|
| Pork Shoulder 🥩 | 2 lb | Cut into 2-inch chunks, bone-in preferred |
| White Vinegar 💧 | 1 ½ cups | Distilled white vinegar preferred |
| Garlic Cloves 🧄 | 12 cloves | Peeled and smashed, not minced |
| Fresh Ginger 🌿 | 2 tbsp | Grated, fresh is best |
| Bay Leaves 🍃 | 4 whole | Dried, standard size |
| Brown Sugar 🍯 | ¼ cup | Light or dark, packed |
| Olive Oil 🫒 | ¼ cup | For searing pork |
| Salt 🧂 | 1 ½ tsp | Kosher or sea salt |
| Black Peppercorns 🌶️ | 1 tsp | Crushed, not ground |
| Hard-Boiled Eggs 🥚 | 2 whole | Optional, for garnish |
| Long-Grain White Rice 🍚 | 2 cups | Uncooked, for serving |
| Pickled Papaya (Atchara) 🍈 | ½ cup | Optional, for serving |
The pork shoulder is non-negotiable here. Look for bone-in cuts at your local butcher—they stay juicier during the long braise. If you're buying pre-cut, check for good marbling. Filipino markets or Asian grocery stores often have the best quality, but the regular supermarket works too. Those crispy edges? They come from the initial sear—don't skip it. For the vinegar, distilled white vinegar is traditional, but apple cider vinegar adds a nice complexity if you prefer. The garlic should be fresh—those cloves should smell pungent when peeled. I always buy extra because I use half for this recipe and save the rest for other dishes.
No brown sugar? White sugar works fine, but it won't caramelize as nicely. Running short on bay leaves? Dried thyme at half the amount gives a similar earthy note. The hard-boiled eggs are optional but add a nice textural contrast—just slice them thinly over the top before serving. For the rice, jasmine rice is traditional, but long-grain white works perfectly. If you're feeling adventurous, try cooking the rice directly in the adobo sauce for extra flavor infusion. The atchara adds a refreshing crunch—look for it in the Asian aisle or make your own with papaya, vinegar, and chili.
This sauce gets better with time—3-4 days in the fridge lets the flavors meld perfectly. Portion the meat and sauce into containers for easy leftovers. The sauce thickens as it cools, so add a splash of water when reheating. Store the rice separately to keep it from getting soggy. For extra crispy edges on leftovers, broil for 3-5 minutes with a drizzle of olive oil. The pork keeps 5 days refrigerated or 3 months frozen—perfect for meal prep.
Why You'll Love This Recipe
- One-Pot Magic: I swear by this recipe—just dump everything in one pot, simmer, and walk away. The vinegar and ginger do all the work while you finish dinner or catch up on a show. No fancy techniques, no stress.
- Garlic-Ginger Bomb: That first bite? The garlic and ginger hit like a flavor grenade—sweet, tangy, and just a little spicy. The vinegar tenderizes the pork until it’s fall-apart tender, but with a crispy edge that makes it irresistible.
- Leftovers That Don’t Suck: Between us, most adobo leftovers are sad. Not this one. The sauce thickens just enough to cling to rice, and the pork stays juicy for days. I’ve reheated this for breakfast, lunch, and dinner—no complaints.
- Budget Hero: Pork shoulder is cheap, and a single batch feeds my family for three meals. The vinegar and spices cost pennies, and the flavor stretches across plates without sacrificing taste. My wallet and my taste buds thank me.
Step-by-step instructions for Batangas-style pork adobo
Let's create this iconic Filipino dish with perfectly crispy edges and fall-apart tender meat.
🔥 Step 1: Sear the Pork Shoulder for Maximum Flavor
Heat a large Dutch oven over medium-high heat and add the 0.25 cup olive oil. Once shimmering, add the 2 lb pork shoulder cut into 2-inch chunks in a single layer. Let them sear undisturbed for 5-6 minutes until deep golden brown on all sides—this builds incredible flavor through the Maillard reaction.
I press down gently on the pork with a spatula during the first minute to prevent curling. Once browned, transfer the pork to a plate and set aside. Don't drain the oil—those browned bits (fond) are pure flavor gold that will dissolve into our sauce later.
🍳 Step 2: Build the Aromatic Base
In the same Dutch oven, reduce heat to medium and add the 12 smashed garlic cloves and 2 tbsp grated fresh ginger. Sauté for 1-2 minutes until fragrant and just starting to color—you'll smell that heavenly garlic-ginger aroma filling your kitchen. Watch carefully; garlic burns quickly and turns bitter.
Add the 4 whole bay leaves, 1.5 tsp salt, and 1 tsp crushed black peppercorns. Stir for 30 seconds to toast the spices, which deepens their flavor. This aromatic base forms the foundation of our adobo's complex taste profile.
🥘 Step 3: Braise in Vinegar and Brown Sugar
Pour in the 1.5 cups white vinegar and 0.25 cup brown sugar, scraping up all those flavorful browned bits from the bottom. Return the pork to the pot, then bring everything to a gentle simmer over medium-low heat. Here's the thing—this isn't a quick cook. Simmer uncovered for 45-50 minutes until the pork is fork-tender and the sauce has reduced by about half.
I stir occasionally but not constantly—just enough to keep the pork submerged. The vinegar will smell strong at first, but as it cooks down, it transforms into something sweet and tangy. You'll know it's ready when the pork shreds easily and the sauce coats the back of a spoon with a glossy sheen.
⏰ Step 4: Rest and Garnish for Perfect Texture
Transfer the pork and sauce to a serving platter, discarding the bay leaves. Let it rest for 10 minutes—this crucial step allows the juices to redistribute, ensuring each bite is moist and flavorful. The pork should be so tender it practically falls apart at the touch, with beautifully crispy edges from our initial sear.
Garnish with the 2 whole hard-boiled eggs (halved or quartered) and serve with 2 cups cooked long-grain white rice. For an authentic touch, add 0.5 cup pickled papaya (atchara) on the side. The contrast of sweet, tangy adobo with the crunchy papaya is what makes this dish truly special.
Pro Tips For Making Batangas Pork Adobo
- CRANK THE HEAT FIRST: Batangas adobo needs that initial sear to lock in flavor—don’t simmer gently. Start with the pan smoking hot, then add the pork shoulder in one layer. I learned this the hard way after making mushy pork that tasted like sad stew.
- PEEL GINGER LATE: Keep the ginger’s skin on until the very last minute—it adds subtle bitterness and aroma. Only peel and slice it right before adding to the pot, or it’ll turn to mush and lose its punch. (Yes, even if you’re impatient like me.)
- DON’T DROWN THE PORK: Vinegar should cover the meat, but not drown it—aim for about 1.5 cups max for a 2-pound shoulder. Too much liquid means watery adobo; too little means burning. I now measure it like I’m dosing medicine.
- USE GARLIC BUTTER: Skip the raw garlic cloves—melt 2 tablespoons butter first, then fry the garlic until golden. This makes the sauce velvety and adds depth without overpowering the vinegar’s tang. (Your future self will notice the difference.)
Pro cooking tips for this dish
Perfect Vinegar Ratio
The magic of Batangas pork adobo lies in that perfect vinegar balance—1.5 cups for 2 lbs of pork. Too little and the sauce won't develop its signature tangy depth; too much and it becomes harsh. I've found that distilled white vinegar works best for its clean acidity, but if you prefer, apple cider vinegar adds subtle sweetness. The key is letting it reduce by half during cooking—this transforms raw acidity into complex, caramelized flavor. 💧
Crispy Edge Technique
Those coveted crispy edges start with a proper sear. Use a Dutch oven on medium-high heat with enough oil to coat the pork—0.25 cup olive oil is perfect. Let the pork sear undisturbed for 5-6 minutes until deep golden brown. I press down gently with a spatula during the first minute to prevent curling. The Maillard reaction happening here creates the flavor foundation for the entire dish. Don't skip this step—it's what makes Batangas adobo special.
Garlic Mastery
Those 12 smashed garlic cloves should be fresh and pungent when peeled. Smashing them (not mincing) releases more flavor oils. Sauté them just until fragrant—1-2 minutes—before they turn bitter. I like to add them to the hot oil right after searing the pork so they absorb some of that meaty flavor. The garlic should be soft but not browned when you add the vinegar. This is where the dish gets its aromatic depth that makes it unforgettable.
Slow Braising Secret
After adding the vinegar and sugar, maintain a gentle simmer over medium-low heat for 45-50 minutes. This slow cook time is crucial—it allows the collagen in the pork to break down while the vinegar mellows into a sweet-tangy sauce. I stir occasionally but not constantly to avoid breaking up the pork pieces. The sauce should reduce by about half, coating the back of a spoon with a glossy sheen. Patience here pays off with tender, fall-apart meat and rich, flavorful sauce.
Resting for Perfection
Never skip the 10-minute rest after transferring the pork to your serving platter. This allows the juices to redistribute throughout the meat, ensuring each bite is moist and flavorful. The pork should be so tender it practically falls apart at the touch, with those beautiful crispy edges from our initial sear. I often tent it loosely with foil during resting to keep it warm. This simple step makes all the difference between good adobo and exceptional adobo. ✨
Sauce Thickening Trick
If your sauce seems too thin after cooking, don't be tempted to add more vinegar. Instead, let it cool slightly and then simmer uncovered for an additional 5-10 minutes to reduce further. For extra thickness, I sometimes mash a few of the pork pieces against the sides of the pot with a wooden spoon—this releases more gelatin that naturally thickens the sauce. The sauce should coat the pork beautifully without being gloppy. This is what makes Batangas adobo so satisfying—each bite is coated in that perfect balance of tangy, sweet, and savory sauce.
Nutrition facts
Frequently asked questions
Why does Batangas pork adobo need such a long cooking time?
The 45-50 minute braise is essential for two reasons: First, it breaks down collagen in the pork shoulder, transforming tough meat into fork-tender pieces. Second, it allows the vinegar to mellow into a rich, caramelized sauce rather than staying harsh. This slow process creates that signature Batangas texture where the edges stay crispy while the interior melts in your mouth.
Can I substitute vinegar with something else?
While traditional recipes use white vinegar, you can experiment with apple cider vinegar (for subtle sweetness) or even rice vinegar (for a milder tang). However, avoid balsamic or wine vinegars—they'll alter the dish's signature sharp acidity. If substituting, reduce the amount by 10% since these vinegars are less potent.
What makes Batangas adobo different from regular Filipino adobo?
Batangas-style adobo is distinguished by its crispy pork edges and less vinegar (about 25% less than classic versions). The cooking method emphasizes a longer, gentler braise rather than boiling, which preserves more moisture in the meat. This technique creates a sauce that's both tangy and slightly sweet, with a deeper caramelized flavor profile.
How do I fix if my adobo sauce is too acidic?
Don't panic! Balance the acidity by adding 1-2 tablespoons of brown sugar or 1 teaspoon of soy sauce while simmering. For extra richness, stir in 1 tablespoon of butter at the end. The key is to let the sauce reduce further—this helps mellow the vinegar's sharpness. If possible, let it rest overnight in the fridge before serving.
Can I make this recipe in an Instant Pot?
Yes, but with adjustments: Sear the pork first in a regular pan, then transfer to the Instant Pot with all ingredients. Cook on high pressure for 25 minutes, then quick-release. The sauce will be thinner than stovetop, so reduce it uncovered on the stove for 5-10 minutes afterward. The meat will be tender, but the crispy edges will be less pronounced than with traditional braising.