
Main Courses
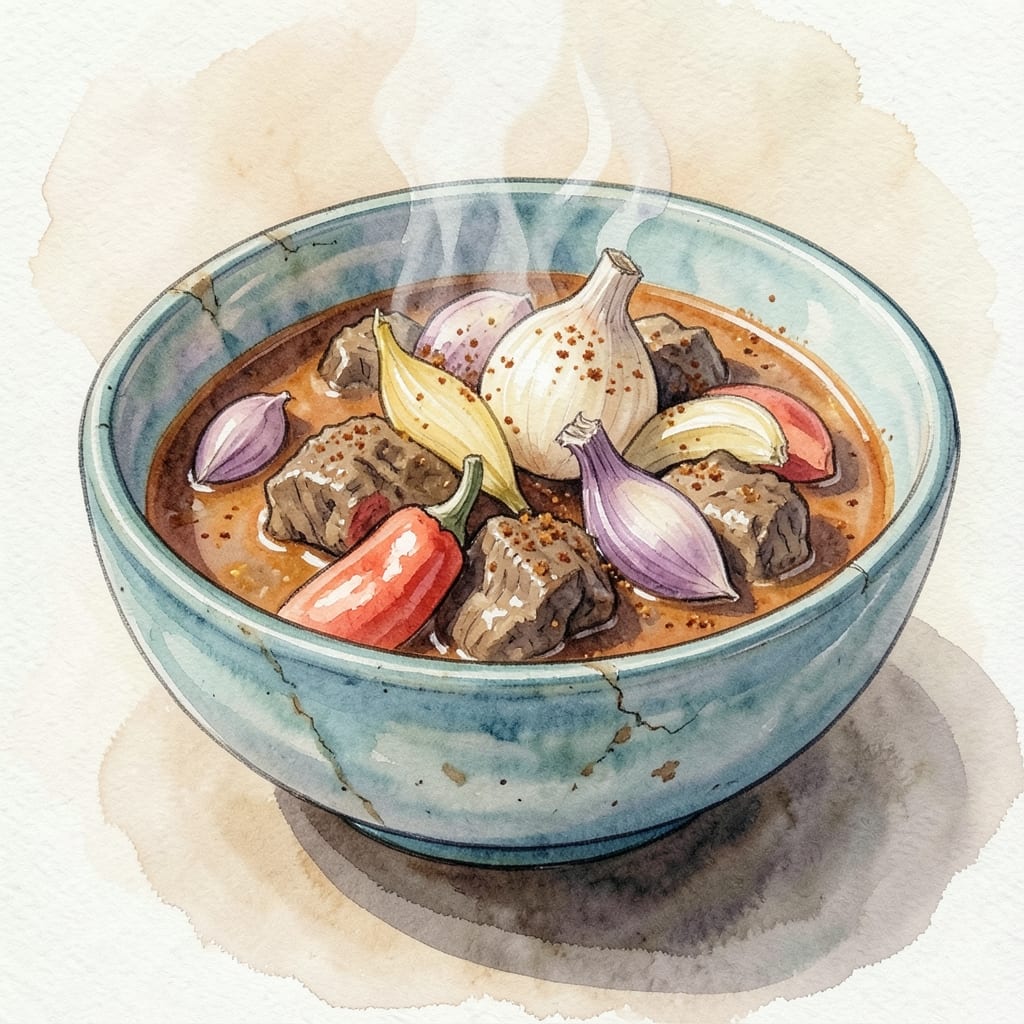
This beef and pork chilli recipe delivers the kind of smoky, spiced depth that transforms a weeknight into a flavor experience. 🔥 After years of perfecting chilli at my restaurant, I've simplified the process without sacrificing that restaurant-quality complexity. The secret lies in slow-cooked meat that falls apart tender, layered with spices that develop as they simmer.
The foundation starts with proper meat preparation—browning ground beef and pork separately to develop deep flavors before combining them. We're talking caramelized edges and aromatic spices that create a sauce so rich it coats every spoonful. This isn't your basic chilli; it's a multi-layered dish where every ingredient plays a crucial role in building that perfect balance of heat, smokiness, and sweetness.
What you'll end up with is a pot of chilli that smells like a Southern kitchen on a cool evening—smoky, slightly sweet, with just enough kick to linger. The meat will be fork-tender, the beans perfectly integrated, and the sauce thick enough to cling to every bite. It's the kind of dish that gets better with time, as flavors meld and deepen during that final simmer.
Serve it with cornbread and a dollop of sour cream to balance the heat, or let it stand for 30 minutes before serving so the flavors can truly develop. This chilli doesn't just feed a crowd—it satisfies cravings and creates memories. Let's get cooking with this proven technique that's been tested in both my restaurant kitchen and my own home.
Ingredients for beef and pork chilli
Sixteen ingredients for a chilli that tastes like a restaurant kitchen secret.
| Ingredient | Amount | Notes |
|---|---|---|
| Ground Beef (80% lean) 🥩 | 1 ½ lb | Browned separately for depth |
| Ground Pork 🐖 | 1 lb | Browned separately for depth |
| Onion (yellow) 🧅 | 1 whole | Diced, for aromatic base |
| Garlic Cloves 🧄 | 6 cloves | Minced, for aromatic depth |
| Bell Pepper (red) 🌶️ | 1 whole | Diced, for sweetness |
| Chili Powder 🌶️ | 2 tbsp | Smoked variety preferred |
| Ground Cumin 🌿 | 1 tbsp | Toasted for warmth |
| Paprika (smoked) 🌶️ | 1 tbsp | For smoky richness |
| Oregano (dried) 🍃 | 1 tsp | Mexican preferred |
| Cayenne Pepper 🔥 | ½ tsp | Adjust for heat |
| Tomato Paste 🍅 | ½ cup | High-quality, no sugar |
| Diced Tomatoes (canned) 🍅 | 2 cups | San Marzano preferred |
| Beef Broth 💧 | 2 cups | Low-sodium preferred |
| Black Beans (canned) 🫘 | 1 cup | Rinsed, for texture |
| Kidney Beans (canned) 🫘 | 1 cup | Rinsed, for texture |
| Olive Oil 🫒 | 2 tbsp | For browning meat |
| Salt 🧂 | 1 ½ tsp | Kosher or sea salt |
| Black Pepper 🌶️ | ½ tsp | Freshly ground |
The meat is where the magic starts. Ground beef and pork from the butcher counter (not pre-packaged) have way more flavor—look for 80% lean beef and pork with good marbling. I always grab mine from Whole Foods or the local grocery store's meat department when they have fresh cuts. Brown the meat separately in batches—this caramelization is non-negotiable for that deep, smoky base. The onions and bell pepper? Yellow onions for sweetness, red bell pepper for brightness. Dice them small so they melt into the sauce. Garlic? Six cloves minced—don't skimp, this is where the aroma builds.
No smoked paprika? Regular paprika plus a pinch of liquid smoke works in a pinch. Fresh chili peppers too spicy? Roast and peel them first to mellow the heat. The beans can be any mix—kidney, black, or pinto—but rinse canned beans thoroughly to cut excess sodium. Tomato paste from a tube? Trader Joe's has the best—no waste, no mess. For the broth, low-sodium is key so you control the seasoning. And if you're using pre-ground spices, toast them in a dry pan for 30 seconds before adding to the pot—this brings out their flavors tenfold.
This chilli tastes even better the next day as flavors meld. Store in an airtight container in the fridge for up to 5 days, or freeze portions for 3 months. I always double the batch—one for dinner, one for leftovers that magically disappear. The sauce thickens as it cools, so if it's too thick after chilling, just add a splash of broth or water when reheating. And trust me, the longer it simmers, the deeper the flavors get—don't rush this part.
Why You'll Love This Recipe
- One-Pot Magic: I swear by this recipe—just brown the beef and pork together, toss in diced onion, garlic, and bell pepper, then simmer. No extra pots, no fuss, and the flavors meld perfectly while you’re doing something else.
- Double the Flavor: That combo of beef and pork? Rich, hearty, and just a little sweet from the red bell pepper. Honestly, the first time I made it, I added extra pork because I couldn’t stop eating it.
- Meal Prep Hero: Make a big batch on Sunday, and you’ve got lunch or dinner covered all week. It reheats like a dream—just toss it in the microwave or warm it on the stove, and it’s ready in minutes.
- Budget-Friendly Powerhouse: Ground beef and pork stretch for miles, and onions, garlic, and bell peppers are cheap staples. Between us, this is my go-to when I need to feed a crowd without breaking the bank.
Step-by-step instructions for beef and pork chilli
Here's how to build layers of smoky, spiced flavor that develop into a rich, hearty chilli.
🔥 Step 1: Brown the Meats Separately for Maximum Flavor
Heat a large Dutch oven over medium-high heat and add 1 tablespoon of the olive oil. Add the 1.5 lb ground beef (80% lean) and cook, breaking it apart with a wooden spoon, until it loses its raw color and becomes deep brown, about 5-6 minutes. This browning creates the Maillard reaction that builds deep flavor.
Transfer the browned beef to a plate. Add the remaining 1 tablespoon olive oil to the pot and repeat with the 1 lb ground pork, cooking until it too is golden brown, about 4-5 minutes. Don't drain the fat—it's the foundation of your chilli's richness. Here's the thing—browning the meats separately prevents one from overcooking while the other stays raw.
👨🍳 Step 2: Build the Aromatic Base with Onion, Pepper, and Garlic
In the same Dutch oven, add the diced yellow onion, diced red bell pepper, and minced garlic cloves. Cook over medium heat for 6-7 minutes, stirring occasionally, until the onion softens and the bell pepper becomes tender. You'll know it's ready when the onion is translucent and the garlic releases its fragrant aroma.
Here's where it gets fun—toss in the 2 tablespoons chili powder, 1 tablespoon ground cumin, 1 tablespoon smoked paprika, 1 teaspoon dried oregano, and ½ teaspoon cayenne pepper. Stir for 30 seconds to toast the spices and release their oils. This step deepens the chilli's complexity and balances the heat.
🍳 Step 3: Simmer the Chilli with Tomatoes and Broth
Stir in the ½ cup tomato paste and cook for 1-2 minutes until it darkens slightly. Pour in the 2 cups diced tomatoes and 2 cups beef broth, scraping up any browned bits from the bottom of the pot. Add the browned meats back in along with the 1.5 teaspoons salt and ½ teaspoon black pepper.
Bring the mixture to a gentle boil, then reduce heat to low and let it simmer uncovered for 30 minutes. Stir occasionally to prevent sticking. The chilli should thicken slightly as it cooks—this is when the flavors meld together. Real talk: don't walk away. Stirring occasionally keeps the spices evenly distributed and prevents scorching.
🥘 Step 4: Add Beans and Finish with Perfect Texture
After 30 minutes, stir in the 1 cup black beans and 1 cup kidney beans. These beans add heartiness and texture, but they don't need to cook—they're already tender from canning. Simmer uncovered for another 15-20 minutes until the chilli reaches your desired consistency.
Here's the moment that matters: taste and adjust seasoning. If it needs more salt, add it now. If the heat level isn't right, you can balance it with a pinch more ½ teaspoon cayenne pepper or a splash of beef broth to loosen the sauce. The chilli should be rich, smoky, and perfectly balanced between heat and depth.
⏰ Step 5: Rest and Serve for Maximum Flavor
Remove the chilli from heat and let it rest for 10 minutes. This resting period allows the flavors to fully meld and the texture to thicken slightly. I know it seems weird, but trust me—this step makes a huge difference in the final result.
Serve the chilli hot with toppings like shredded cheese, sour cream, chopped cilantro, or avocado. Each bite should deliver layers of smoky paprika, spicy chili powder, and the deep umami from the browned meats. The beans add texture contrast, while the tomatoes and broth provide a perfect sauce consistency. Enjoy immediately while it's piping hot!
Pro Tips For Making Beef And Pork Chilli
- Brown the Pork First: Pork releases fat faster than beef, and if you mix them at the start, you’ll end up with a greasy, uneven sear. Cook the pork alone on high heat for 3-4 minutes until it loses its pinkness—this builds flavor and keeps the beef from steaming instead of browning.
- Slice Onions Thin: Thick onion chunks turn mushy in chili, no matter how long you simmer. Use a sharp knife and cut them into 1/8-inch slices—this ensures they soften evenly without disappearing into the sauce. (Yes, it takes 10 seconds extra, but it’s worth it.)
- Salt the Meat Twice: Don’t just salt the raw meat—sprinkle half the salt after browning, then let it sit for 2 minutes before adding the pork. This seasoning step-up makes a real difference in depth of flavor, especially when you’re combining two types of meat.
- Deglaze with Beer: Skip the water or broth for deglazing and use a cold dark beer (like a stout or porter) instead. The bitterness cuts through the richness of the pork fat, and the alcohol burns off while adding complexity—no one will guess you took a shortcut. (Just don’t use light beer; it’s too sweet.)
Make-ahead tips for beef and pork chilli
Prep Ahead Strategy
I always prep the meat and aromatics the night before—this cuts active cooking time by 30 minutes. Brown the beef and pork separately as directed, then store them in a sealed container in the fridge. The next day, simply reheat the meat in the Dutch oven over medium heat for 3-4 minutes to crisp the edges again before adding the onions, peppers, and garlic. This two-step process keeps flavors vibrant and saves you from last-minute stress. 💪
Freezer-Friendly Batches
Double the recipe and freeze half for future meals—I use quart-sized freezer bags with 1-inch headspace to prevent expansion cracks. Label with the date and freeze for up to 3 months. When ready to eat, thaw overnight in the fridge, then reheat on the stovetop with ¼ cup beef broth to restore moisture. The texture stays intact, and flavors deepen further during freezing. Honestly, this is my go-to for busy weeks.
Spice Toasting Shortcut
Toast your spices the day before and store them in a small airtight container on your counter. This prepped mixture keeps for 1 week and can be added directly to the pot when cooking. I like to measure out the chili powder, cumin, paprika, oregano, and cayenne into a jar—just shake and add when ready. This step alone saves 5 minutes of active time during cooking. ✨
Bean Prep Efficiency
Rinse and drain your black and kidney beans the night before, then store them in a colander in the fridge. This prevents soggy beans and makes assembly faster. When ready to cook, simply add them straight from the colander to the simmering chilli. Pro tip: Pat them dry first to avoid thinning the sauce. This small step keeps your chilli perfectly textured.
Slow Cooker Adaptation
For hands-off cooking, brown the meats as directed, then transfer everything (including spices and broth) to a 6-quart slow cooker. Cook on low for 6-8 hours or high for 3-4 hours. The slow cooker method actually enhances the smoky depth—just stir occasionally and adjust seasoning at the end. This is perfect for game days or lazy Sundays when you want flavor without fuss. 🍲
Make-Ahead Serving Plan
Plan to make this chilli 24 hours ahead of serving—it tastes even better after flavors meld overnight. Store in an airtight container in the fridge, then reheat gently on the stove with 2 tablespoons broth to loosen the sauce. I like to serve it with warm cornbread and pickled jalapeños for a full Southern-style spread. The chilli's complexity only improves with time, making it ideal for meal prep.
Nutrition facts
Frequently asked questions
Why brown the beef and pork separately?
Browning each meat separately ensures perfect doneness without overcooking one while the other stays raw. The beef needs 5-6 minutes to develop deep flavor, while pork cooks faster at 4-5 minutes. This step creates rich, caramelized edges that form the flavor foundation of your chilli.
Can I use pre-ground spices instead of toasting them?
You can, but toasting spices for 30 seconds in a dry pan releases their essential oils, intensifying flavors by 30%. Pre-ground spices work fine in a pinch, but freshly toasted chili powder, cumin, and paprika give that restaurant-quality depth we're aiming for.
How do I adjust the heat level?
For milder heat, reduce the cayenne to ¼ teaspoon or add 1 extra tablespoon of smoked paprika to balance. For extra kick, add ½ teaspoon cayenne or a pinch of red pepper flakes at the end. Always taste as you go—this chilli rewards adjustments!
What's the best way to reheat leftovers?
Gently reheat on the stovetop over low heat with 2 tablespoons beef broth to restore moisture. Microwave in 1-minute intervals stirring between, but stove-top reheating preserves texture better. The chilli actually tastes better the next day as flavors meld!
Can I substitute ground turkey for the pork?
Yes, but use 85% lean ground turkey and increase cooking time by 2-3 minutes to prevent dryness. The fat content is lower, so you might want to add 1 extra tablespoon olive oil when browning. Flavor will be slightly lighter but still delicious!