
Main Courses
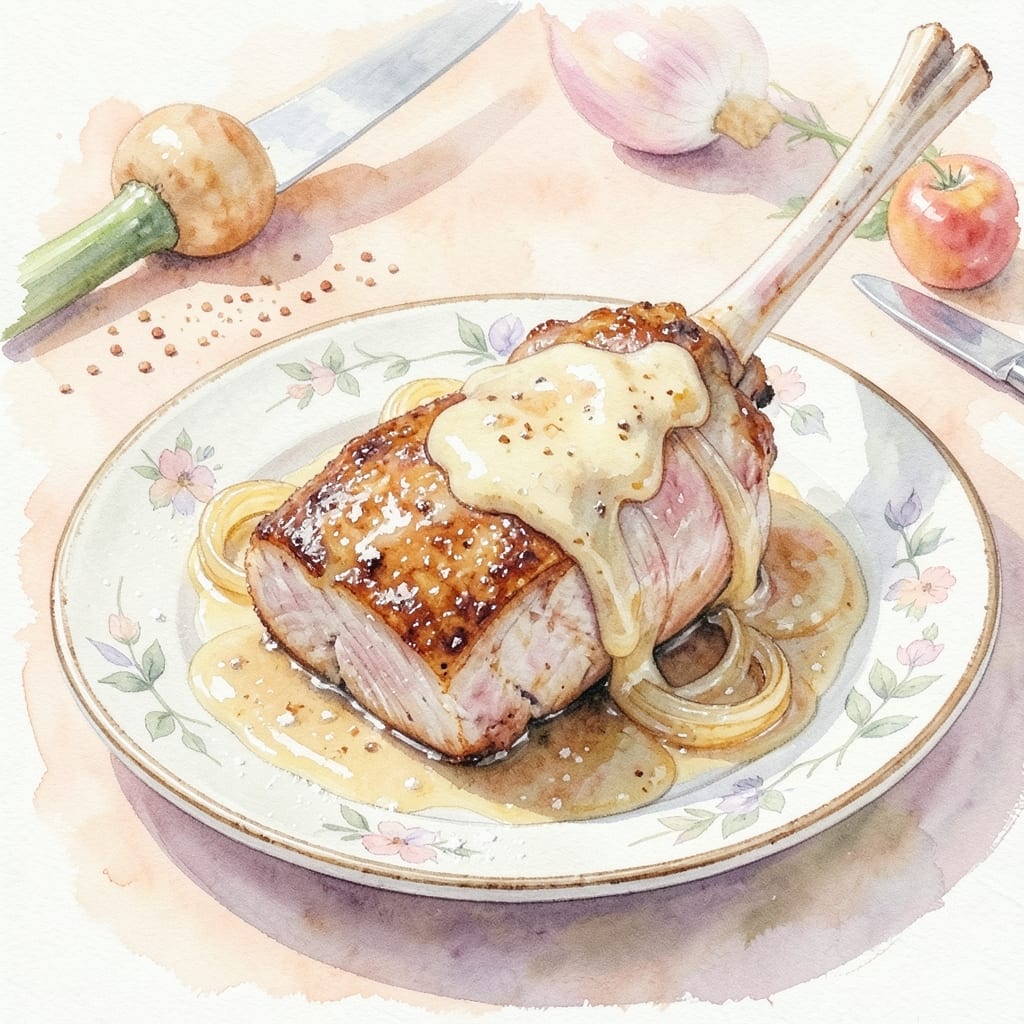
This is the best smothered pork chop recipe ever—delivering the kind of restaurant-quality tenderness that makes weeknight dinners feel like a special occasion. 🔥 The secret lies in that perfect balance of searing for a caramelized crust while braising in rich, onion-infused gravy—no fancy techniques required, just a well-seasoned pan and patience. I've been perfecting this method since my first attempt at 16, and it's now the go-to recipe when I want to impress without stress.
The magic happens in two simple steps: first, searing bone-in pork chops until golden brown to lock in juices, then smothering them in a velvety onion gravy that's rich but not heavy. This isn't your grandmother's dry pork chop—we're talking melt-in-your-mouth texture with every bite, thanks to the slow cook in its own juices. The onions caramelize beautifully, adding natural sweetness that balances the savory meat perfectly.
By the time you serve this dish, you'll have perfectly tender pork chops with crisp edges, swimming in a glossy gravy that clings to every bite. The aroma alone will have everyone gathering at the table, and the presentation—golden chops nestled in their luscious sauce—is restaurant-worthy without requiring fancy plating. This is comfort food at its finest, elevated just enough to feel special.
Pair with classic sides like creamy mashed potatoes or buttery green beans to complete the meal. The leftovers reheat beautifully too, making this an excellent make-ahead option for busy families. Let's create this showstopper that'll have everyone asking for seconds—and the recipe too.
Ingredients for best smothered pork chop recipe ever
Four juicy pork chops and a handful of pantry staples transform into restaurant-worthy comfort food.
| Ingredient | Amount | Notes |
|---|---|---|
| Bone-In Pork Chops 🥩 | 4 whole | 1-inch thick, rib or loin chops |
| Yellow Onions 🧅 | 2 whole | Medium size, sliced into 1/4-inch rings |
| Unsalted Butter 🧈 | 4 tbsp | Cold, cut into 4 pieces |
| All-Purpose Flour 🌾 | 2 tbsp | For dredging chops |
| Beef Broth 💧 | 1 ½ cups | Low-sodium preferred |
| Dry White Wine 🍷 | ½ cup | Substitute with apple cider if needed |
| Salt 🧂 | 1 ½ tsp | Kosher or sea salt |
| Black Pepper 🌶️ | ½ tsp | Freshly ground preferred |
| Garlic Cloves 🧄 | 2 cloves | Minced for depth of flavor |
| Fresh Thyme Leaves 🌿 | 1 tbsp | Or 1 tsp dried thyme |
| Olive Oil 🫒 | 1 tbsp | For searing pan |
| Granulated Sugar 🍬 | ½ tsp | Enhances caramelization |
The pork chops make all the difference here—bone-in, 1-inch thick cuts are key for that perfect balance of crisp edges and tender meat. Costco or local butcher shops often carry the best quality, but any grocery store's fresh meat section will work. Look for chops with good marbling—the white fat streaks mean more flavor. Pat them dry before cooking (that's crucial for browning). For the onions, yellow onions caramelize best, but red onions add a subtle sweetness if you prefer. Slice them evenly so they cook at the same rate as the chops.
No white wine? Apple cider vinegar or extra beef broth works in a pinch—just add a pinch of sugar to balance the acidity. Fresh thyme is ideal, but dried thyme at one-third the amount gets you close. The butter should be cold and cut into pieces—this ensures it browns beautifully instead of melting into the pan too quickly. If you're short on time, pre-sliced onions from the store are fine, but they won't caramelize as beautifully. The sugar might seem odd, but it's what turns those onions from good to extraordinary—don't skip it!
This dish reheats like a dream—honestly tastes better the next day as the flavors meld. Store leftovers in the fridge for up to 4 days or freeze for 3 months. For make-ahead meals, I always double the recipe and portion it into containers. The gravy thickens as it cools, so add a splash of broth when reheating. The chops stay juicy when reheated gently in the sauce—no microwave here, just a stovetop simmer.
Why You'll Love This Recipe
- One-Pan Magic: I swear by this—just sear the chops in butter, toss in onions, and let the flour and broth do the work. No extra pots, no fuss, and the bone-in chops stay juicy while the onions caramelize right in the pan.
- Rich, Deep Umami Bomb: That beef broth and browned flour? It’s the secret weapon. The sauce clings to the chops like a velvety hug, with onions so sweet and tender they melt at the first bite. Honestly, the first time I tasted it, I grabbed another chop before the first one hit the plate.
- Weeknight to Dinner Party: Same recipe, different vibes. Serve it over mashed potatoes for a lazy Tuesday, or drizzle it with a splash of cream and fresh parsley for a fancy-ish weekend meal. My in-laws think it’s restaurant-quality—I just call it "my shortcut."
- Budget-Friendly Leftovers: Pork chops stretch farther than you’d think, especially when smothered in that rich sauce. I make double, freeze half, and reheat it for a quick lunch—tastes just as good cold as it does hot. (Yes, even on a Tuesday.)
Step-by-step instructions for onion-glazed pork chops
Here's the foolproof method for melt-in-your-mouth pork chops with caramelized onions.
🍳 Step 1: Sear the Pork Chops to Golden Perfection
Heat the 1 tablespoon olive oil in a large oven-safe skillet over medium-high heat until shimmering. Pat the 4 whole bone-in pork chops completely dry with paper towels—this is non-negotiable for crispy skin. Season both sides generously with 1 teaspoon salt and ¼ teaspoon black pepper each.
Place the chops in the skillet and cook undisturbed for 3-4 minutes per side until they develop a deep golden-brown crust. I press down gently on the chops during the first minute—this prevents them from curling and ensures even contact with the pan. You'll know they're ready when the edges release easily from the pan and the internal temperature reaches 145°F.
👨🍳 Step 2: Build the Onion Glaze Foundation
Remove the chops from the skillet and set them aside on a plate. Reduce heat to medium and add 2 tablespoons unsalted butter to the same skillet. Toss in the 2 whole yellow onions sliced into ¼-inch rings, 2 minced garlic cloves, and ½ teaspoon granulated sugar. Cook for 8-10 minutes until the onions soften and begin to caramelize at the edges.
Stir in the 1 tablespoon fresh thyme leaves and cook for another 1 minute until fragrant. Here's the thing—don't rush this step. You want those onions to develop a deep, golden color and sweet caramelized flavor that'll coat your chops beautifully. If they stick, add a splash of ½ cup dry white wine to deglaze and scrape up all those flavorful browned bits from the bottom of the pan.
🥘 Step 3: Create the Smothering Sauce
Sprinkle the 2 tablespoons all-purpose flour evenly over the onions and stir vigorously for 1 minute to cook out the raw flour taste. Slowly pour in the remaining ½ cup dry white wine and 1.5 cups beef broth, whisking constantly to prevent lumps from forming. The mixture will bubble vigorously—this is normal.
Bring to a gentle simmer and let it cook for 5-6 minutes until the sauce thickens enough to coat the back of a spoon. Taste and adjust seasoning with the remaining ½ teaspoon salt and ¼ teaspoon black pepper. The sauce should be rich, slightly tangy, and perfectly balanced—not too sweet, not too acidic. This is where all the magic happens—your smothering sauce that'll make these chops unforgettable.
🔥 Step 4: Finish and Glaze the Pork Chops
Return the pork chops to the skillet, spooning the onion sauce generously over the top. Place the skillet in a preheated 425°F oven and bake for 10-12 minutes until the sauce reduces slightly and becomes glossy. The chops should finish cooking to an internal temperature of 150°F—bone-in chops need that extra time to become perfectly tender.
For the final touch, remove the skillet from the oven and increase heat to medium-high on the stovetop. Spoon the sauce over the chops one last time and let it bubble for 1-2 minutes until it forms a thick, glossy glaze. This is the moment that matters: you want that beautiful caramelized onion sauce clinging to every bite of your pork chops.
Pro Tips For Making Best Smothered Pork Chop Recipe Ever
- SEAR THE CHOPS LONG ENOUGH: I used to flip these after 30 seconds, thinking they’d dry out—wrong. Bone-in chops need 3-4 minutes per side in butter until the bone pulls away easily. That crust is what holds the smothered sauce together later, so don’t rush it.
- SHRED THE ONIONS SMALL: Thin slices won’t caramelize properly in the broth. Dice them into 1/4-inch pieces—this gives you real depth of flavor without turning the sauce into onion mush. (Yes, even if it looks like you’re making salsa.)
- DEGLAZE WITH BROTH, NOT WATER: The browned bits stuck to the pan are flavor gold. Splash in beef broth first, let it bubble for 30 seconds, then add flour. Water just dilutes everything, and you’ll taste the difference in that rich, glossy sauce.
- REST THE CHOPS UNDER FOIL: Pull them from the pan at 130°F internal, tent with foil, and let sit 5-10 minutes. This keeps them juicy while the sauce finishes—no one wants a dry chop drowning in sauce. (Your knife will thank you too.)
Essential equipment for best smothered pork chop recipe ever
Searing Skillet
You'll need a large, oven-safe skillet with a 2-3 quart capacity—I swear by my All-Clad Stainless Steel 10-inch for this recipe. The stainless steel conducts heat beautifully and handles the high temperatures needed for searing without warping. If you're on a budget, a well-seasoned cast iron skillet like Lodge's 10-inch works just as well and adds extra flavor over time. Just make sure it's completely dry before searing to prevent sticking. 🔥
Thermometer
A meat thermometer is non-negotiable for perfect pork chops—nothing ruins a good dish like overcooked meat. I use the ThermoWorks Smoke because it's precise and has a handy probe that stays in place. For a budget option, the Taylor Precision Digital works great too. Insert the probe into the thickest part of the chop (avoiding the bone) to monitor the 145°F sear temperature and 150°F final temperature. This ensures your chops are juicy and safe to eat.
Whisk
For that silky-smothering sauce, you'll need a balloon whisk—it's perfect for incorporating the flour into the onions and creating a smooth gravy. My go-to is the OXO Good Grips Balloon Whisk because it's sturdy and comfortable to use. If you don't have one, a regular whisk works in a pinch, but you might need to stir more vigorously to prevent lumps. The key is whisking constantly when adding the wine and broth to create a velvety texture.
Measuring Tools
Precision matters when it comes to measurements, especially with the flour and broth ratio. I use a stainless steel measuring spoons set for the flour and wine, and a liquid measuring cup with a spout for the broth. The We Are the Mighty Stainless Steel Measuring Spoons are my favorite—they're durable and accurate. For the onions, a sharp chef's knife and mandoline slicer (like the Benriner) ensure even slices that caramelize beautifully. Even slices = even cooking!
Oven Thermometer
If you're using the oven to finish your chops, an oven thermometer is worth the investment. My kitchen oven runs about 25°F hotter than the set temperature, so I use the Thermoworks Oven Thermometer to ensure it's actually hitting 425°F when called for. This small tool prevents undercooked chops or over-browned onions. For most home ovens, a $10 thermometer from the grocery store will do the trick—just check it against your oven's accuracy first.
Tongs
Finally, a good pair of tongs makes flipping and serving these chops effortless. I reach for my Merlin 9-inch Tongs—they're sturdy enough to handle the weight of the chops without bending. The angled head makes it easy to pick up chops from the skillet without splashing sauce everywhere. If you don't have tongs, heat-resistant spatulas work, but they're trickier to use for flipping. Trust me, tongs are a game-changer for this recipe! 💪
Nutrition facts
Frequently asked questions
Why do I need bone-in pork chops for this recipe?
The bone adds natural flavor and helps keep the meat moist during cooking. Bone-in chops also stay juicier because the bone acts like a natural thermometer, preventing the meat from overcooking. Plus, the bone adds visual appeal when serving!
Can I make this recipe without wine?
Substitute the ½ cup dry white wine with ½ cup apple cider vinegar or extra beef broth. Add ½ teaspoon sugar if using vinegar to balance the acidity. The flavor won't be identical, but it'll still be delicious.
How do I prevent my pork chops from drying out?
Never overcook them! Use a meat thermometer to check for 145°F during searing and 150°F when finished. Let the chops rest for 5 minutes after cooking before serving. This allows juices to redistribute. Also, don't skip the bone—it helps retain moisture.
What's the best way to reheat leftovers?
Reheat gently in the sauce on the stovetop over low heat—never microwave. Add a splash of broth if the sauce seems too thick. The chops reheat beautifully and often taste even better the next day as flavors meld! Store leftovers for up to 4 days in the fridge.
Can I use boneless pork chops instead?
Yes, but they'll cook faster and may dry out more easily. Use ½-inch thick boneless chops and reduce cooking times by 2-3 minutes per side. The sauce will still work, but you might want to add 1 extra tablespoon butter** to compensate for lost flavor from the bone.