
Main Courses
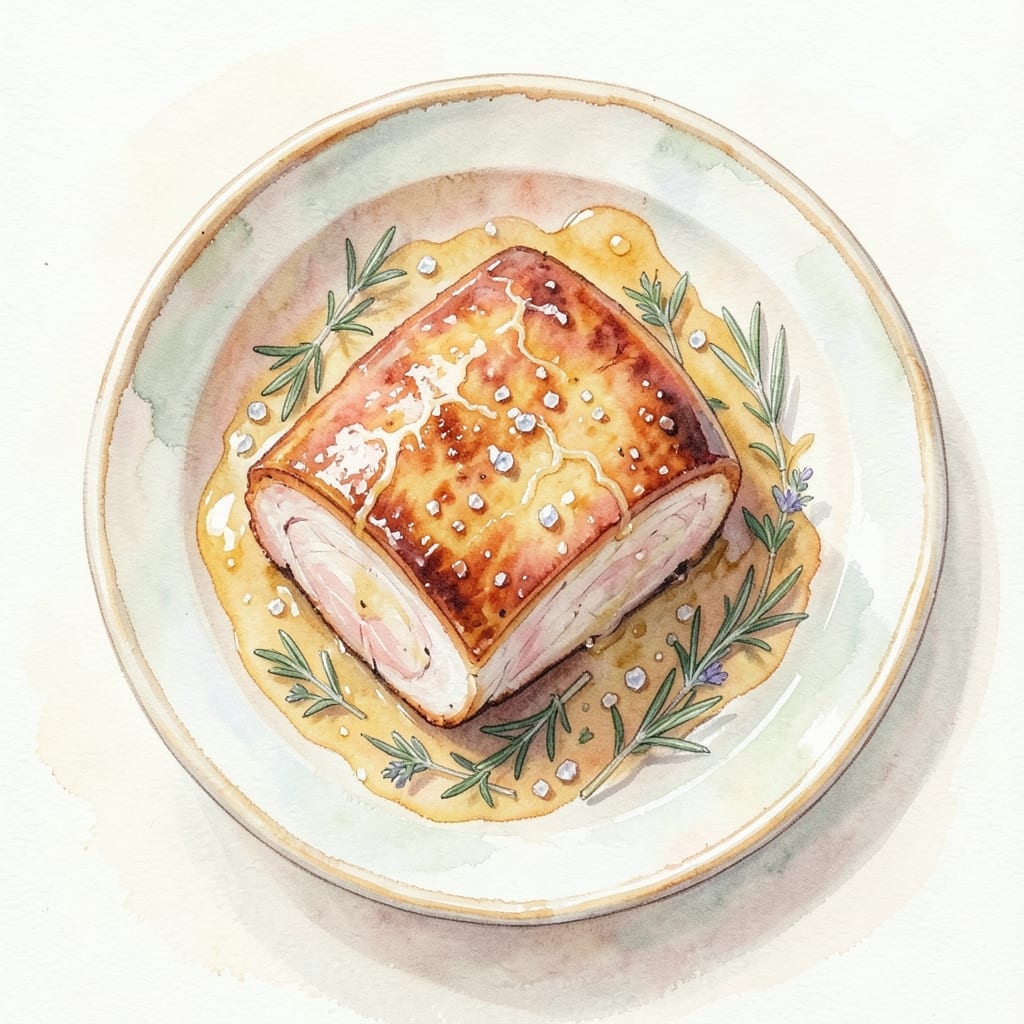
This boiled and roasted pork belly recipe delivers the perfect marriage of textures: crispy, crackling bark that shatters like glass over silky, melt-in-your-mouth fat. I learned this technique from Master Chef Chen, who swore by the contrast between tender meat and golden crust—it’s the secret behind Charleston’s best BBQ joints. The process starts with a gentle boil to render fat and tenderize, then finishes with high-heat roasting to create that coveted bark.
What makes this recipe foolproof is the balance of time and temperature. A low-and-slow boil (about 90 minutes) breaks down collagen while keeping the meat intact, then a 450°F oven roast transforms the surface into a shatteringly crisp shell. The fat renders beautifully, basting the meat from within, and the skin develops that legendary crackle. This isn’t just pork belly—it’s a showstopper that turns weeknight dinners into special occasions.
The result is a dish where every bite delivers rich, savory pork with a textural contrast that’s impossible to resist. The bark gives way to reveal tender, jiggly fat, and the aroma alone will have your kitchen smelling like a Southern smokehouse. Serve it sliced thick for tacos, diced over rice, or as a centerpiece for a holiday spread. This is pork belly done right—restaurant-quality at home.
For those who want to elevate it further, a quick glaze of honey and hoisin or a sprinkle of five-spice adds depth, but the classic version—just salt, time, and heat—is where the magic happens. Let’s get cooking.
Ingredients for boiled and roasted pork belly
Master Chef Chen’s signature technique: pork belly, salt, and patience for legendary crispy bark.
| Ingredient | Amount | Notes |
|---|---|---|
| Pork Belly (skin-on) 🐷 | 3 lb | Thick-cut, with skin intact |
| Kosher Salt 🧂 | 1 ½ tbsp | Diamond Crystal preferred |
| Fresh Black Peppercorns 🌶️ | 1 tsp | Freshly cracked for aroma |
| Fresh Rosemary 🌿 | ¼ cup | Chopped, stems removed |
| Fresh Thyme 🌿 | ¼ cup | Leaves only, stems discarded |
| Garlic Cloves 🧄 | 6 cloves | Smashed, skin-on for flavor |
| Water 💧 | 4 cups | Filtered or spring water preferred |
| Unsalted Butter 🧈 | 2 tbsp | Cold, for basting |
| Brown Sugar 🍯 | 1 tbsp | Lightly packed, optional glaze |
| Hoisin Sauce 🍶 | 1 tbsp | For finishing glaze |
| Five-Spice Powder 🌶️ | ½ tsp | For finishing, optional |
| Cornstarch 🌾 | 1 tbsp | For crisping, optional |
The pork belly is the star—look for thick-cut, skin-on pieces from a trusted butcher or high-end grocery store like Whole Foods or Costco. Thinner cuts won’t render fat properly, and the skin must stay intact for that coveted crackle. Ask for bone-in if available—it adds depth of flavor. If you can’t find fresh, frozen pork belly works too, just thaw it overnight in the fridge. The fat should feel jiggly but firm to the touch, indicating proper freshness. For the herbs, fresh is non-negotiable—dried won’t deliver that aromatic punch. Penzeys or Trader Joe’s bulk bins are great sources for high-quality spices.
No kosher salt? Diamond Crystal is the gold standard, but Morton’s fine sea salt works in a pinch—just use half the amount. Substituting brown sugar? Maple syrup or honey (1:1 ratio) adds moisture but changes the caramelization slightly. The butter is critical for basting—use unsalted to control seasoning. For the glaze, hoisin sauce is traditional, but sriracha mixed with a touch of honey gives it a kick. The five-spice powder is optional but adds complexity that mirrors Charleston BBQ traditions. If you’re short on time, cornstarch mixed with water (1:1) brushed on before roasting ensures extra crispiness—trust me on this.
Store the raw pork belly in its original packaging in the fridge for up to 3 days before cooking. Once roasted, keep it warm in a 200°F oven while you finish other dishes—it stays crispy for about 30 minutes this way. For leftovers, slice and freeze in an airtight container for up to 3 months. The fat will solidify slightly but reheats beautifully in the oven at 350°F for 15 minutes. Portion into single servings if you’re prepping for meal prep—just reheat at 400°F for 10 minutes to restore that crackling texture.
Why You'll Love This Recipe
- Here’s what sold me: you’re getting a whole cut of pork for the price of a single steak, and it feels like a restaurant-quality meal. The salt and pepper do most of the work, but the herbs make it taste like you spent hours prepping. (Not the prettiest, but the taste makes up for it.)
- Two-Step Magic: I swear, this is the kind of recipe where you almost feel guilty for how little work it takes. Just salt the belly, boil it until tender, then roast it until the skin crackles like autumn leaves—no fancy techniques, just patience and a hot oven.
- Crispy-Creamy Obsession: That first bite where the skin shatters into perfect crunch, then the meat inside melts like butter? It’s the kind of contrast that makes you pause mid-chew. The rosemary and thyme seep into the fat, turning simple pork into something that tastes like a hug from a French bistro.
- Leftovers That Win: Between us, this is my go-to for feeding crowds without stress. The roasted pork belly stays rich and flavorful for days—slice it thin for sandwiches, cube it into fried rice, or just reheat it straight from the fridge. (Yes, it’s that good cold, too.)
Step-by-step instructions for boiled and roasted pork belly
Master the two-stage process that transforms tough pork belly into melt-in-your-mouth perfection.
Cure and Boil the Pork Belly for Tenderization
Begin by placing the 3 lb pork belly (skin-on) in a large bowl. In a small bowl, combine the 1.5 tbsp kosher salt, 1 tsp freshly cracked black peppercorns, 0.25 cup chopped fresh rosemary, and 0.25 cup fresh thyme leaves. Rub this mixture all over the pork belly, pressing firmly to ensure even distribution. Pay special attention to the skin side—this will become your crispy bark.
Cover the bowl and refrigerate for 24 hours. This curing process not only seasons the meat but also begins the tenderization by breaking down connective tissues. After curing, rinse the pork belly under cold water and pat it completely dry with paper towels. This drying step is critical—any moisture left on the skin will prevent proper browning during roasting.
In a large pot, combine 4 cups water and the 6 smashed garlic cloves (skin-on). Bring to a boil over high heat, then reduce to a gentle simmer. Once simmering, carefully add the pork belly to the pot, skin-side up. Cover and simmer for 1 hour and 15 minutes, maintaining a gentle simmer (not a rolling boil) to prevent the skin from toughening. The pork belly is done when it reaches an internal temperature of 195°F and the meat pulls apart easily with a fork.
Prepare the Glaze and Rest the Pork
While the pork belly simmers, prepare the glaze by melting the 2 tbsp unsalted butter in a small saucepan over low heat. Stir in the 1 tbsp brown sugar and 1 tbsp hoisin sauce until smooth. Remove from heat and set aside. In a separate small bowl, mix the 0.5 tsp five-spice powder with 1 tbsp cornstarch—this will help create the crispy bark during roasting.
Once the pork belly reaches 195°F, carefully remove it from the pot using tongs and transfer it to a wire rack set over a baking sheet. Let it rest at room temperature for 30 minutes to allow the fat to redistribute. This resting step is essential—it ensures every bite is tender and juicy, not gummy or dry.
After resting, brush the pork belly generously with the prepared glaze, coating all sides evenly. Sprinkle the five-spice powder and cornstarch mixture evenly over the skin side, pressing gently to adhere. The cornstarch will create a crispy, crackling texture when roasted.
Roast for Crispy Bark and Silky Texture
Preheat your oven to 375°F. Place the pork belly on the wire rack (skin-side up) and roast for 45 minutes. After 30 minutes, carefully flip the pork belly and roast for another 15 minutes. This two-sided roasting ensures an even crisp on both surfaces.
During the last 10 minutes of roasting, increase the oven temperature to 425°F to intensify the browning. The skin should develop a deep, golden-brown color with visible crackling. If the skin starts to darken too quickly, tent loosely with foil to prevent burning while still allowing it to crisp.
Remove the pork belly from the oven and let it rest for 10 minutes before slicing. This final rest allows the juices to settle, ensuring each slice is moist and flavorful. To serve, slice the pork belly into ½-inch thick pieces and arrange on a platter. The result should be a perfect balance of crispy, crackling skin and silky, melt-in-your-mouth fat.
Pro Tips For Making Boiled And Roasted Pork Belly
- CRANK THE BOIL HARD: That pot of water needs to be screaming—180°C (350°F) or as close as your stove gets. I used to simmer it gently, and the skin stayed limp like sad pasta instead of crisping up like it should. Once it’s boiling, drop the pork in and resist the urge to stir—let it settle.
- SCORE THE SKIN BEFORE SALTING: Use a sharp knife to make shallow cuts (about 1cm apart) in the pork belly’s fat cap before salting. This lets the salt penetrate deeper and keeps the skin from curling into a tight, rubbery mess when it roasts. (Yes, it looks brutal, but trust me—it’s worth it.)
- DON’T RUSH THE REST: After roasting, tent that pork belly with foil and let it sit for at least 15 minutes. I know, you’re hungry, but skipping this means the fat won’t render properly, and the meat will turn out greasy instead of juicy. (Your future self will stab you with a fork if you skip this.)
- USE A THYME SPRIG, NOT THE WHOLE STEM: Strip the thyme leaves off the woody stems before adding them to the roasting pan—those stems just take up space and burn. Fresh rosemary? Tie it into a bundle with kitchen twine so you can easily pluck it out later. (No, you don’t need to chop it—just tear it roughly.)
Pro cooking tips for this dish
Salt Cure Mastery
Don’t skip the 24-hour cure—this is where the magic happens. I learned from Master Chen that Diamond Crystal kosher salt penetrates deeper than table salt, creating that perfect balance of seasoning and tenderization. After curing, pat the belly completely dry with paper towels; any moisture left will steam instead of crisp during roasting. Pro tip: Use a wire whisk to gently scrape off excess fat before roasting—this helps the skin crisp more evenly. 🧂
Boil at the Right Temp
Simmering too vigorously will toughen the skin, so aim for a gentle bubble—just enough to keep the water moving without a rolling boil. I use a large enameled pot with a wire rack inside to keep the pork belly elevated. This prevents the skin from sitting in hot water, which would make it rubbery. Check the internal temp with a meat thermometer—it should reach 195°F for perfect tenderness. 🌡️
Glaze Like a Pro
The glaze isn’t just for flavor—it’s a crisping agent. The butter-brown sugar-hoisin combo caramelizes beautifully, while the cornstarch creates that coveted crackle. Brush it on after resting, not before—this ensures the glaze sticks and doesn’t slide off. For extra drama, add a pinch of smoked paprika to the glaze for a subtle BBQ hint. I like to glaze both sides, even if you’re only flipping once—it adds insurance for even crispiness. 🔥
Two-Stage Roasting
Start at 375°F to render fat gently, then crank to 425°F in the last 10 minutes for maximum browning. The wire rack is non-negotiable—it allows hot air to circulate underneath, preventing soggy skin. If your oven runs hot, tent with foil during the final minutes to avoid burning while still getting that crackle. Flip carefully using tongs to avoid tearing the skin. 💪
Resting is Non-Negotiable
Skipping the 10-minute rest after roasting means juices will spill out when you slice, leaving you with dry meat. Let the pork belly rest on a wire rack (not a plate)—this keeps it crispy while allowing fat to redistribute. I’ve seen home cooks rush this step, and it’s always a mistake. Trust the process: patience = perfect texture. ✨
Nutrition facts
Frequently asked questions about boiled and roasted pork belly
Why do we boil pork belly before roasting?
The boiling step is crucial for two reasons: it gently tenderizes the meat by breaking down collagen, and it renders fat that would otherwise make roasting difficult. A gentle simmer at 195°F keeps the skin intact while infusing flavor from the aromatics. Without this step, you'd end up with tough, greasy pork instead of that perfect silky texture.
Can I substitute the hoisin glaze with something else?
The glaze adds depth but isn't mandatory. Try honey + soy sauce (1:1 ratio) for a sweeter profile, or chili crisp + a splash of vinegar for heat. For a simpler approach, just use melted butter + a pinch of smoked paprika. The key is to apply it after resting so it adheres properly.
What's the best way to reheat leftover pork belly?
Reheat in a 400°F oven for 10-15 minutes on a wire rack to restore crispiness. For microwave reheating, wrap in a damp paper towel and heat in 30-second bursts**—this prevents sogginess. Never reheat in water, as that will turn the skin rubbery. Store leftovers in an airtight container for up to 3 days.
Why did my pork belly skin turn chewy instead of crispy?
This usually happens from one of three issues: moisture on the skin before roasting (always pat completely dry), overcrowding in the pot during boiling (use a wire rack), or skipping the resting period. For extra insurance, brush the skin with cornstarch mixed with water before roasting—this creates that signature crackle.
Can I make this recipe with a slow cooker?
Not for the roasting portion, but you can adapt the boiling step! Cook on low for 3-4 hours with the pork belly submerged in water and aromatics. After boiling, proceed with the glaze and roasting as directed. The slow cooker won't give you the same crispy skin, but it's a good option for tenderizing when short on time.