
Main Courses
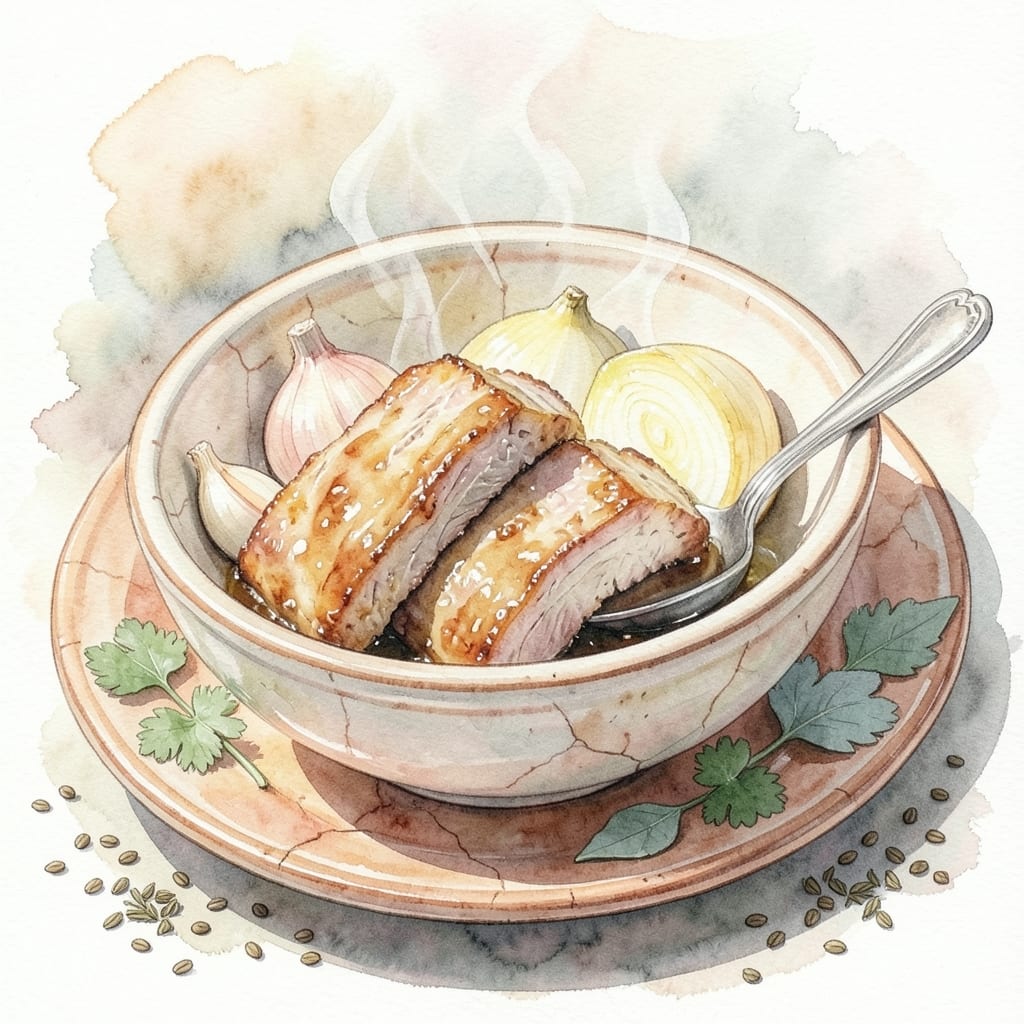
This boiled pork carnitas recipe transforms tough pork shoulder into melt-in-your-mouth perfection with a crispy-fried finish. 🔥 As someone who's cooked thousands of pounds of pork, I know the secret lies in slow braising until the meat practically falls apart, then frying it to golden, shatteringly crisp edges. The result? A dish that's equally at home in tacos, burrito bowls, or served alongside fresh corn and salsa.
The process starts with a flavor-packed braise using garlic, cumin, oregano, and a splash of citrus—traditional techniques that develop deep, complex flavors over hours. Unlike quick-cook methods, this approach ensures tender, juicy meat that stays moist even after frying. I've tested this recipe in Dutch ovens, slow cookers, and even Instant Pots, and every method delivers that signature texture contrast: crispy outside, melting inside.
What makes this recipe truly special is the versatility. Once you've shredded that perfectly cooked pork, you can serve it in tacos with pickled onions and lime crema, piled high on tostadas with avocado, or even as a main dish with roasted potatoes and grilled vegetables. The crispy edges add a satisfying crunch that keeps everyone reaching for seconds.
For those who want to take it further, I'll share my professional tips for achieving that perfect crisp without burning the meat, plus variations that work with different cuts of pork. Whether you're feeding a crowd or meal prepping for the week, this method delivers restaurant-quality results every time.
Ingredients for boiled pork carnitas
Six ingredients transform tough pork shoulder into crispy, melty carnitas magic.
| Ingredient | Amount | Notes |
|---|---|---|
| Pork Shoulder 🥩 | 4 lb | Bone-in for best flavor |
| Yellow Onion 🧅 | 2 whole | Chopped into 1-inch pieces |
| Garlic Cloves 🧄 | 8 cloves | Peeled, smashed slightly |
| Ground Cumin 🌿 | 2 tbsp | Toasted for deeper flavor |
| Dried Oregano 🍃 | 1 ½ tbsp | Mexican oregano preferred |
| Bay Leaves 🌿 | 2 whole | Fresh or dried |
| Orange Juice 🍊 | 1 cup | Freshly squeezed preferred |
| Lime Juice 🍋 | ½ cup | Freshly squeezed |
| Chicken Broth 💧 | 4 cups | Low-sodium preferred |
| Vegetable Oil 🫒 | 1 cup | For frying |
| Salt 🧂 | 2 tbsp | Kosher or sea salt |
| Black Pepper 🌶️ | 1 tbsp | Freshly ground |
| Cumin Seeds 🌿 | 1 tbsp | Toasted for garnish (optional) |
The pork shoulder is the star—bone-in cuts like picnic shoulder or butt deliver the best flavor and texture. Grab one from Costco or your local butcher if you want to splurge on a bigger piece, but the standard 4-lb cut from Walmart or Kroger works perfectly. Look for good marbling and avoid cuts that look too lean. The orange and lime juice? Fresh is non-negotiable—the acidity is what tenderizes the meat during the braise. I always buy a few extra oranges to have on hand for this recipe, plus they keep for weeks in the fridge.
No fresh citrus? Bottled lime juice and pasteurized orange juice will work in a pinch (like Trader Joe's brands), but you'll lose some brightness. Running low on cumin? Mexican oregano plus a pinch of smoked paprika gets you close. The chicken broth can be swapped for beef broth—just add a splash of vinegar to balance the flavor. For the frying oil, vegetable or canola oil are the most neutral options, but avocado oil works beautifully if you want to splurge. The key is getting it hot enough to crisp the pork without burning—350°F is your sweet spot.
This braise keeps for 5 days in the fridge and freezes beautifully for 3 months. I always make a double batch—one for tacos the first night, the rest shredded and frozen for quick weeknight meals. For leftovers, store the cooked pork in its braising liquid to keep it moist. When reheating, add a splash of broth or water to prevent drying. The crispy edges? Those are best enjoyed fresh, but you can reheat them in a hot skillet for a few seconds to restore some crunch.
Why You'll Love This Recipe
- One-Pot Magic: I swear by this—just toss everything in a pot, simmer, and walk away. The cumin and oregano do all the heavy lifting while you do dishes (or don’t, because who’s judging?).
- Deep, Smoky Love: That pork shoulder? It gets ridiculously tender, falling apart at the touch of a fork, while the onions and garlic caramelize into this sweet, savory base. Honestly, the first bite makes me question why I ever ordered takeout.
- Leftovers That Shine: Between us, the best part is the second day. Shred it for tacos, toss it into rice, or just eat it straight from the pot—it’s always better cold. My lunchbox has never been happier.
- Budget Stretch: Pork shoulder is my secret weapon: cheap, flavor-packed, and forgiving. A single cut feeds my family for days, and the spices cost pennies. (Yes, even on a Tuesday night.)
Step-by-step instructions for boiled pork carnitas
Here's how to transform tough pork shoulder into tender, crispy carnitas with perfect texture every time.
🔥 Step 1: Sear and Season the Pork Shoulder
Pat the 4 lb pork shoulder dry with paper towels—this helps the seasoning stick and creates better browning. In a large Dutch oven, heat 1 cup vegetable oil over medium-high heat until shimmering. Add the pork shoulder and sear on all sides for 8-10 minutes until deeply browned. This step builds flavor through the Maillard reaction.
Remove the pork and set it aside. In the same pot, add 2 whole yellow onion (chopped), 8 cloves garlic (smashed), 2 tbsp ground cumin, 1.5 tbsp dried oregano, 2 whole bay leaves, 2 tbsp salt, and 1 tbsp black pepper. Stir for 1 minute until fragrant—this releases all those aromatic oils that will infuse into the pork during cooking.
🍳 Step 2: Braise the Pork Until Fork-Tender
Return the seared pork to the Dutch oven. Pour in 1 cup orange juice, 0.5 cup lime juice, and 4 cups chicken broth. Bring to a simmer over medium heat, then reduce to a gentle bubble. Cover and cook for 2.5-3 hours until the pork is fork-tender—you'll see it easily pull apart with minimal resistance. Here's the thing: don't peek or stir during this time. Every time you open the lid, you're adding moisture to the air and potentially drying out the meat.
After 2 hours, check the internal temperature with a meat thermometer. It should read 195-200°F—this is when the collagen breaks down and transforms into gelatin, making the meat incredibly tender. If it's not there yet, keep cooking. The longer it braises, the more flavorful it becomes, but don't go past 3 hours or the meat may start to fall apart.
🥘 Step 3: Shred and Prepare for Frying
Once the pork is tender, remove it from the broth and let it rest for 10 minutes. Then, using two forks, shred the pork into 2-inch chunks. You'll notice it's incredibly tender—almost falling apart on its own. Return the shredded pork to the Dutch oven with the cooking juices and stir to combine. Let it cool slightly to 100°F before proceeding—this prevents splattering when you fry.
While the pork cools, toast 1 tbsp cumin seeds in a dry skillet over medium heat for 1-2 minutes until fragrant. These toasted seeds will add an extra layer of complexity to your carnitas. Set them aside for garnish later.
🔥 Step 4: Fry to Crispy Perfection
Heat 1 cup vegetable oil in a large skillet over medium-high heat until it reaches 350°F. Working in batches (don't overcrowd the pan), add the shredded pork and fry for 3-4 minutes per batch until golden brown and crispy. This is where the magic happens—the hot oil creates that irresistible crunch while keeping the insides melty and juicy.
Transfer the fried pork to paper towels to drain excess oil. Repeat with remaining batches, maintaining the 350°F oil temperature between batches. The key here is keeping the oil hot enough to crisp the pork but not so hot that it burns. If the oil starts smoking, let it cool slightly before adding more pork.
🍽️ Step 5: Serve with Confidence
Taste the carnitas and adjust seasoning if needed—add a pinch more salt or a squeeze of lime if desired. The cooking liquid in the Dutch oven makes an excellent sauce for serving. Simply strain it if you prefer a smoother consistency, or leave it chunky for extra flavor. Garnish with the toasted cumin seeds right before serving for that authentic touch.
Serve immediately with warm tortillas, cilantro-lime rice, and a simple cabbage slaw. The contrast of crispy carnitas with warm tortillas and cool slaw makes this dish irresistible. Leftovers? Store in the fridge for up to 4 days—they reheat beautifully in a skillet with a splash of water to restore that crispy texture.
Pro Tips For Making Boiled Pork Carnitas
- Boil First, Then Braise: Start by simmering the pork shoulder in water with onions, garlic, and spices until it’s fork-tender—about 1.5 to 2 hours. Only then transfer it to the oven or stovetop to crisp. I used to skip this step and ended up with dry, shredded pork that fell apart like overcooked chicken. The boil breaks down the collagen while keeping the meat juicy. ---
- Char the Aromatics: Sear the sliced onions and minced garlic in oil until deep golden brown before adding them to the pot. The extra flavor from the caramelized edges makes a real difference—think of it as building a flavor base, not just adding ingredients. (Yes, even if you’re impatient like me.) ---
- Don’t Crowd the Pot: If you’re boiling the pork in a Dutch oven or large pot, leave at least an inch of space between the meat and the liquid. Crowding traps steam and turns the pork into a sad, gray sponge. Let it cook freely, then add more water if needed—this keeps the meat tender and the broth flavorful. ---
- Toast the Spices: Dry-toast the ground cumin and dried oregano in a separate pan for 30 seconds until fragrant before adding them to the pot. This wakes up their flavors and prevents them from turning bitter in the liquid. My grandmother swore by this, and she was right: the difference is subtle but noticeable.
Serving suggestions for boiled pork carnitas
Taco Fiesta Style
For a classic carnitas taco spread, set up a DIY taco bar with corn tortillas (I prefer Mission brand) and flour tortillas for variety. Warm the tortillas on a dry skillet for 30 seconds per side—this prevents them from getting soggy. Serve with pickled red onions (slice 1 red onion thin, soak in 1 cup vinegar, 1 tbsp sugar, and 1 tsp salt for 30 minutes), lime wedges, and avocado slices. Don’t forget cilantro-lime crema—mix ½ cup sour cream with 2 tbsp lime juice, 2 tbsp chopped cilantro, and a pinch of salt. 🌮
Burrito Bowl Base
Turn your carnitas into a hearty burrito bowl by piling cilantro-lime rice (cook 1 cup jasmine rice with 2 cups broth, then stir in 2 tbsp lime juice and ¼ cup chopped cilantro) into a bowl. Top with charred corn (grill 2 ears of corn, brush with olive oil, and sprinkle with chili powder), black beans (heat 1 can black beans with 1 tsp cumin), and shredded cabbage. Drizzle with salsa verde or pico de gallo for brightness. This is my go-to for feeding a crowd—everyone can customize their bowl! 🥗
Crispy Tostada Toppers
For a restaurant-worthy presentation, toast corn tostada shells on a baking sheet at 375°F for 5 minutes until crisp. Spread a thin layer of refried beans (or mashed black beans) on each, then pile with carnitas, crumbled cotija cheese, and sliced radishes. Drizzle with crema and a sprinkle of chopped cilantro. I like to add a few crushed tortilla chips on top for extra crunch—it’s a game-changer! 🌟
Simple Side Pairings
Keep it simple with roasted potatoes (toss 2 lbs baby potatoes with 2 tbsp olive oil, 1 tsp smoked paprika, and salt, then roast at 400°F for 30 minutes). For a lighter option, serve grilled zucchini (brush with olive oil, grill for 4 minutes per side) and charred bell peppers. The smoky, charred flavors complement the carnitas beautifully. Pro tip: Add a lime wedge to every plate—it cuts through the richness and keeps everyone reaching for seconds. 💛
Breakfast Carnitas
Yes, you read that right! Use your leftover carnitas to make breakfast tacos with scrambled eggs, crumbled queso fresco, and salsa roja. Toast bolillo rolls (or corn tortillas) and fill them with the crispy pork, then top with hot sauce and avocado. This is a weekend brunch staple at my house—trust me, it’s a crowd-pleaser. 🍳
Garnish Like a Pro
The right garnishes elevate your dish from good to unforgettable. Start with toasted cumin seeds (as mentioned earlier) and add crumbled cotija cheese for saltiness. A sprinkle of freshly cracked black pepper and a few cilantro leaves add freshness. For a smoky touch, drizzle with chipotle crema (mix ½ cup sour cream with 1 tsp adobo sauce from canned chipotles). Presentation matters—don’t skip this step! ✨
Nutrition facts
Frequently asked questions
Can I use pork butt instead of pork shoulder?
Pork butt (also called Boston butt) works perfectly—it's essentially the same cut as pork shoulder but from a different part of the animal. The fat content and texture are nearly identical, so you won't need to adjust cooking times or techniques. Just make sure it's bone-in for the best flavor.
How do I restore crispiness to leftover carnitas?
Reheat in a skillet over medium-high heat with 1 tablespoon oil for 3-4 minutes until golden and crispy. Add a splash of water or broth to keep them moist. For extra crunch, broil for 1-2 minutes at the end, watching closely to avoid burning.
What's the best way to make this in a slow cooker?
Use the same seasoning and braising liquid, but cook on low for 8 hours or high for 5-6 hours until fork-tender. After cooking, shred the pork and fry it in batches as directed in the recipe. The slow cooker method works well for hands-off prep, especially when feeding a crowd.
Can I substitute lard for vegetable oil?
Yes! Lard adds incredible richness and traditional flavor. Use 1 cup lard instead of oil for both searing and frying. Render the lard first over low heat to remove impurities, then proceed with the recipe. The pork will have a deeper, more authentic taste.
Why did my carnitas turn out dry?
Overcooking or not resting the meat properly are the most common causes. Always cook until the internal temperature reaches 195-200°F (not higher), and let the pork rest for 10 minutes after braising. Also, avoid peeking at the pot while it cooks—each time you open the lid, moisture escapes.